A beautiful smile draws attention and makes a memorable impression. Many patients visit Long Island Veneers because they want teeth that look bright, natural, and tailored for their unique features.
Veneers can reshape and enhance your teeth, but the final look depends largely on selecting the right shade. This article explains what really goes into choosing a veneer shade, why the details matter, and how our team at Long Island Veneers guides you through every step.
Ready to learn what affects your veneer shade and how your results can reflect your goals? The next sections walk you through the process, covering key decisions and what to expect.
Key Takeaways
The Importance of Veneer Shade Selection
Veneer shade selection shapes your smile as much as the size and shape of the veneers themselves. Everyone has a unique complexion, smile line, and facial structure, so matching a single shade to every patient simply does not produce natural or pleasing results.
Your teeth reflect light differently depending on their color, thickness, and surface texture. For the result to look natural, your veneers must mimic the light-reflecting qualities of enamel. This is why our surgeon takes time to help you choose a shade that works with your current teeth, as well as your skin tone and overall appearance.
If you choose a veneer shade that is too bright, your restorations can look artificial or attract unwanted attention. On the other hand, a shade that is too dull or dark may not deliver the confidence boost you hope to achieve. You can trust our team to guide you so your veneers look bright and fresh, but never fake or “overdone.”
Factors That Influence Veneer Shade Choice
Many elements play a part in finding your ideal veneer shade. Patients are often surprised by just how many variables matter during this process.
Natural Tooth Color
Your existing tooth color sets the baseline for shade selection. If all of your veneers go on the front teeth, matching adjacent molars and premolars helps achieve a seamless look.
It helps to address any pre-existing stains with teeth whitening before veneer treatment. You cannot whiten veneers after placement, so a brighter base can lift your eventual shade.
Skin Tone and Facial Features
Our team looks closely at your skin tone and complexion. Warmer shades may suit golden or olive skin tones, while cooler hues look best on fair or pinker skin. Even your lip color and facial symmetry affect the way different shades appear in your mouth.
Age
Younger patients often have whiter, more opaque enamel. As we age, teeth may darken naturally, which creates a softer, more translucent appearance. Our surgeon helps you select a shade that fits your age, so results always look appropriate and natural.
Personal Preferences and Expectations
Your ideal smile could be subtle and understated or bold and luminous. We listen carefully to your goals before discussing shade options. Some patients want a dazzling Hollywood white, while others prefer a shade that blends quietly with their existing smile.
The Number and Position of Veneers
Adding a single veneer, such as for a chipped front tooth, often requires an exact color match with surrounding teeth. Placing a set of veneers (often called the “social six” or a full smile makeover) gives you more flexibility to brighten the entire smile.
You can expect our team to talk through these factors at your first visit, so you feel comfortable and informed every step of the way.
Tools and Techniques for Accurate Shade Matching
Precision in veneer shade selection comes from a combination of training, technique, and technology. Our Long Island office uses several methods to give you the most natural, precise result.
Shade Guides: The Foundation
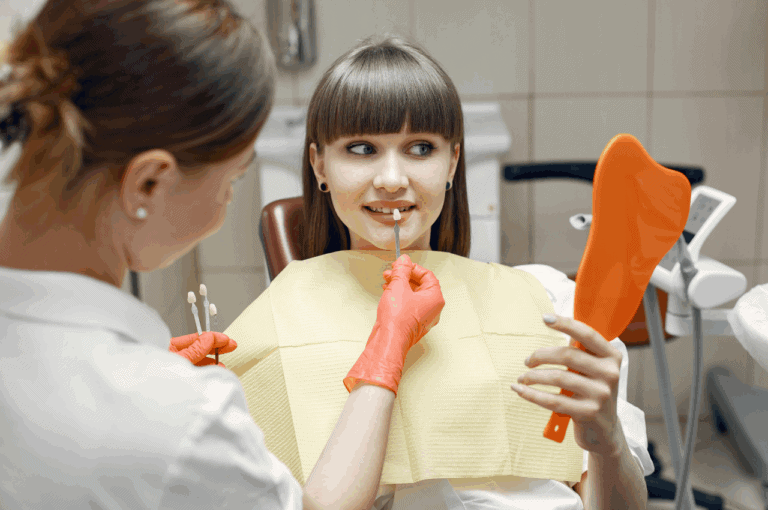
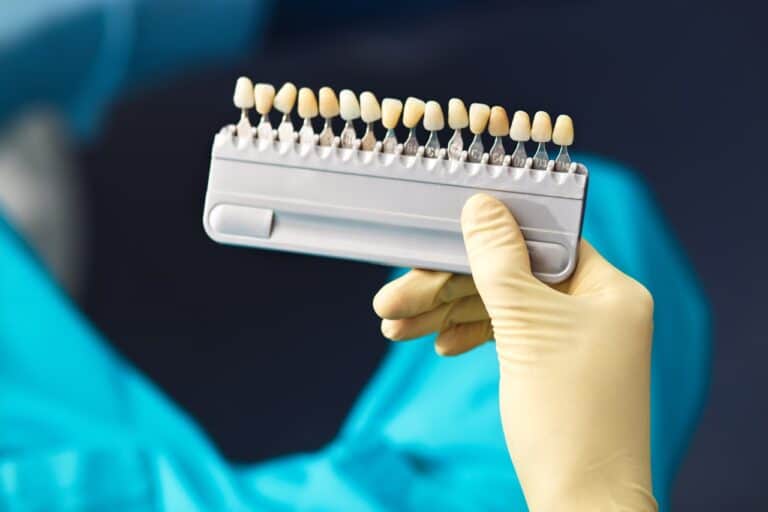
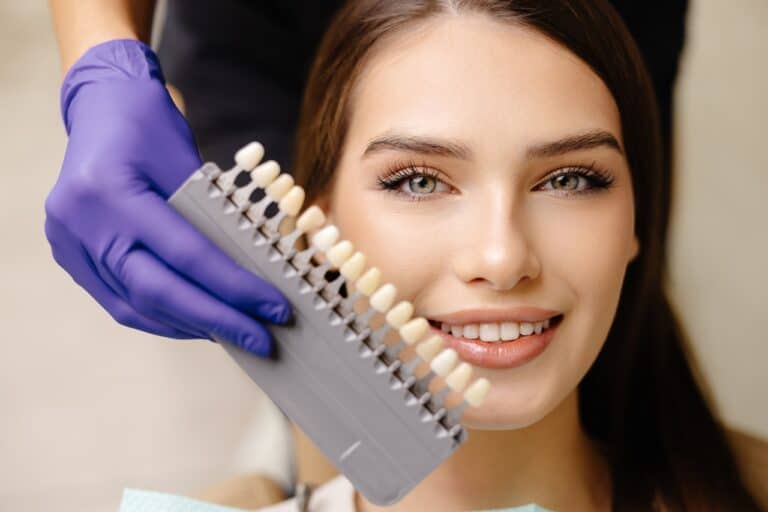
A dental shade guide serves as the starting point. This hand-held tool includes a series of gradated tabs in different shades, opacities, and brightness levels.
Our surgeon will hold these tabs next to your teeth and compare them side by side. The goal is to narrow down a small range, then fine-tune the match based on other factors like light and position.
Digital Imaging and Photography
We often use photos and digital scans of your teeth. Digital imaging lets us analyze subtle color differences and communicate them directly to our dental lab.
Seeing high-resolution images can help you visualize the options and outcomes more easily. This process reduces the chance of surprises or a mismatch at the final appointment.
Lighting Conditions
Natural sunlight is the gold standard for shade comparison. We may evaluate shading by a window or with special daylight-simulating lights.
Fluorescent or artificial lights can distort color and make your veneers look different at home compared to in-office. Our team always double-checks your selection in multiple lighting conditions.
Temporary Try-Ins
Before placing your permanent veneers, we can provide temporary versions. These help you “test drive” your new smile at home and in various settings, which helps you feel more confident about your final decision.
If you see something you would like to adjust, our surgeon can request modifications from the lab before your final veneers are completed.
The Role of the Dental Lab in Veneer Shade
Dental technicians play a vital part in translating your shade selection into a finished product.
Once you select your desired color and texture, our office communicates all details to a trusted dental laboratory.
The following list explains the dental lab’s role in the process and how they help us ensure you get veneers that look and feel natural.
- Custom color layering: Lab technicians layer various porcelains to mimic the appearance of real enamel and dentin. This approach captures translucency and depth, making veneers look more lifelike.
- Surface texture and finish: The lab adjusts each veneer’s surface to match your natural tooth texture. Gloss, slight grooves, and light reflection all play a part in creating a seamless blend.
- Final adjustments based on feedback: If you request a change after your temporary veneers, the lab carefully makes these adjustments before final delivery.
You can feel confident knowing every veneer receives personalized attention from highly skilled technicians who work closely with our team.
Common Shade Selection Systems
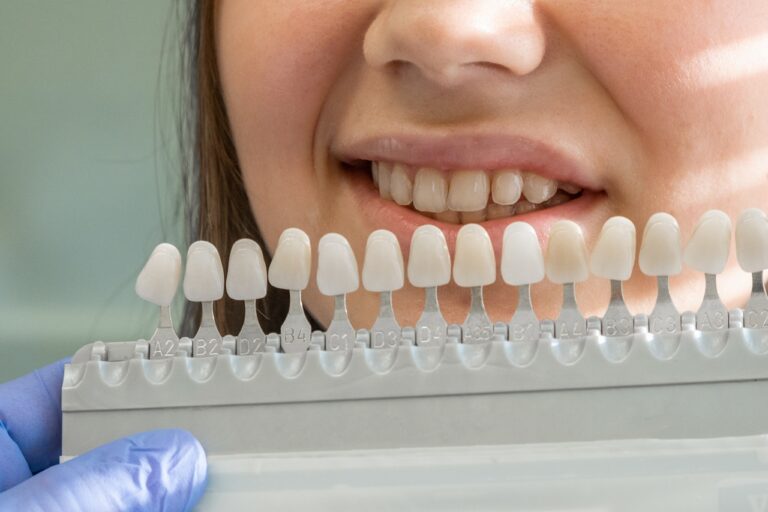
Several shade selection systems guide this process. The two most widely used are the VITA Classical Shade Guide and the newer VITA 3D-Master.
VITA Classical Shade Guide
VITA Classical organizes shades mainly by value (lightness) and hue (color family). The guide groups these into lettered families like A (reddish brown), B (reddish yellow), C (gray), and D (reddish gray).
Within each group, numerical values represent the brightness or darkness.
VITA 3D-Master Shade Guide
This updated system expands choices by slicing color into three dimensions: value (lightness), chroma (color saturation), and hue (basic color). Many patients find that the 3D-Master helps achieve a more precise, natural match.
Our Long Island Veneers team uses both systems to ensure options for any skin tone, age group, or smile goal.
The Patient’s Voice in Shade Selection
Veneer shade selection works as a collaboration. Your feedback shapes every decision.
Some patients bring photographs of their ideal smile or celebrities they admire. We always discuss the possibilities with you in person, making sure the final result matches your expectations.
You can expect us to explain every step, answer your questions, and encourage your input. Our surgeon never rushes your decision, because a confident choice leads to better long-term satisfaction.
If your first instinct is to go as white as possible, we will show you real-life examples of how that shade can look in person versus photos or social media. This helps many patients find a natural balance between radiance and believability.
Benefits of “Test Driving” Your Veneer Shade
A trial period with temporary veneers provides several advantages. It helps you make a confident, informed choice before making a permanent commitment.
The following list highlights how a preview phase supports your long-term satisfaction with veneer shade:
- Live experience: You see how the shade appears in different lighting, at work, and in social settings. No photo or mockup compares to real-world experience.
- Chance for feedback: Friends and family can offer opinions, and you may notice small details that matter for your confidence.
- Opportunity to refine: If you want a lighter or more subtle look, or if you notice a mismatch with other teeth, our surgeon can make changes before the final appointment.
The “test drive” phase turns your smile makeover into a truly personal experience with no pressure or surprises.
Potential Pitfalls in Shade Selection
Choosing a veneer shade can sound simple, but some common pitfalls may affect your results if you do not have expert guidance.
Overly Bright Shades
Extra-white shades can stand out and appear artificial in photos and in person. While the look may seem impressive in a magazine, very bright veneers can often seem out of place in everyday life.
Forgetting Adjacent Teeth
Matching only the front veneers and ignoring the color of molars, premolars, or lower teeth leads to a mismatched smile. Our surgeon always checks your smile in its entirety before confirming your choice.
Skipping the Trial Step
Some patients want to avoid temporary veneers or rush into permanent bonding. Not previewing the final shade makes it much harder to spot minor issues before it is too late to adjust.
Our Long Island Veneers team helps you avoid these pitfalls by following a stepwise process and inviting your feedback at each stage.
Long-Term Maintenance of Veneer Color
Many patients ask whether their veneers will keep their shine and color for years. Porcelain veneers resist staining better than natural teeth.
Coffee, tea, and wine generally will not discolor your new veneers, but natural teeth next to them can still stain or darken over time. This can change the overall shade match a few years after treatment.
You can help your smile stay bright by practicing these habits:
- Brush and floss daily to limit stained plaque or tartar near the gum line.
- Schedule professional cleanings every six months to polish both teeth and veneers.
- Avoid abrasive toothpaste, which can create tiny scratches on the veneers and reduce shine.
If you begin to notice visible differences between veneers and your teeth, dental whitening can help brighten adjacent teeth and restore the overall harmony of your smile.
Frequently Asked Questions About Veneer Shade Selection
Many patients arrive with similar questions about how veneer shades work, what they can do, and how best to get results they love.
Achieve a Smile That Reflects You
Every step in veneer shade selection brings you closer to a more confident smile. At Long Island Veneers, we know a beautiful result begins with careful listening and precise planning.
When you begin your journey, our team takes time to discuss your goals and examine your smile in detail. You can trust us to offer honest advice about the shades that work with your features, and to guide you gently toward a result that looks natural and feels like “you.”
If you want to see how a new smile could transform your confidence, we invite you to schedule a consultation at our Long Island office. Our doctor will answer your questions and help you take the next step toward your dream smile.